
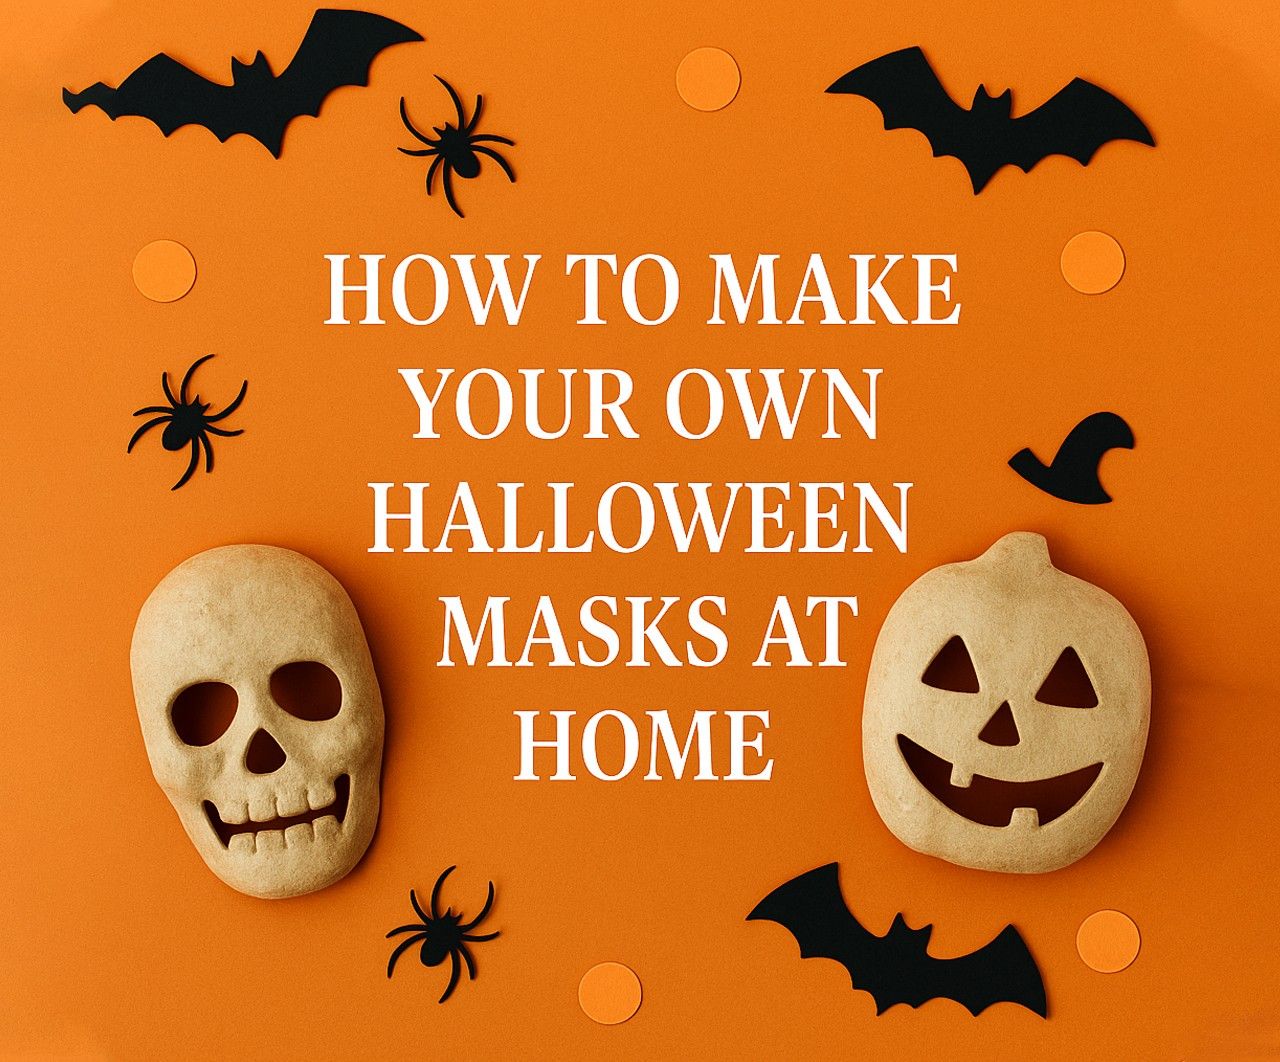
How to Make Your Own Halloween Masks at Home
Halloween is all about creativity and spookiness, and one of the best ways to show off your Halloween spirit is with a custom-made mask. Whether you want to go for something terrifying or whimsical, skeleton masks, skull masks Halloween, and skeleton masks for Halloween are all the rage in 2025. With a few basic materials and a touch of creativity, you can create a one-of-a-kind mask that will stand out at any Halloween event. In this guide, we’ll show you step-by-step how to make your own Halloween masks at home—perfect for a creepy, spooky, or fun look!
Making your own Halloween mask is not only a cost-effective way to celebrate but also a fantastic DIY project that allows you to showcase your personal style. From basic skeleton masks to intricately detailed skull masks Halloween, here’s everything you need to know to create your custom mask for this year’s Halloween. Know more..
1. Gather Your Materials
Before you begin crafting your Halloween masterpiece, it’s important to gather the necessary materials. Fortunately, making your own mask doesn’t require a lot of supplies, and many of them can be found around your home or at your local craft store.
Here’s a list of basic materials you’ll need to make your skeleton masks or skull masks Halloween:
- Mask base: You can either use a pre-made plastic mask as your base or create your own using craft foam, cardboard, or paper mache.
- Scissors and craft knife: For cutting out mask shapes and adding detail.
- Hot glue gun and glue sticks: To secure pieces in place.
- Paint: Acrylic paints work best for creating detailed designs.
- Markers: For outlining and adding intricate designs or shading.
- Elastic or ribbon: To hold the mask in place on your face.
- Decorative elements: Beads, glitter, sequins, feathers, and other embellishments for added flair.
Once you have everything you need, you’re ready to get started on crafting your very own skeleton masks for Halloween.
2. Create Your Mask Base
If you’re starting with a plain plastic mask, you can skip this step. However, if you’re building your mask from scratch, follow these instructions to create your base.
Option 1: Craft Foam or Cardboard Base
- Step 1: Cut a piece of craft foam or cardboard into the shape of a mask. You can trace the outline of a mask from a template or draw your own.
- Step 2: If you’re using cardboard, be sure to soften it by soaking it in water for a few minutes so it bends easily. Then, mold it to fit the contours of your face.
- Step 3: Once it’s shaped, use hot glue to secure any seams or edges that need reinforcement.
Option 2: Paper Mâché Base
- Step 1: Inflate a balloon to the size of your face and cover it with several layers of paper mâché.
- Step 2: Let the mask dry completely, and then pop the balloon to reveal your mask base.
- Step 3: Once you have the hardened paper mâché shell, cut out the eye holes and refine the shape as needed.
Both of these methods allow you to customize the mask’s shape to your liking, whether you want a creepy skull look or a playful skeleton appearance. The next steps will help you personalize your skeleton masks for Halloween even further.
3. Add the Details
Now comes the fun part: adding details that will make your mask come to life! Whether you’re going for a skeleton mask or a more elaborate skull mask Halloween, this is where you can really get creative.
Paint Your Base
- Use acrylic paints to base coat your mask. For a skeleton mask, you might want to start with a white or off-white base coat, while skull masks Halloween typically look great with a stark white or gray base.
- Once the base coat is dry, you can use black paint to add shadows around the eye sockets, nose, and jawline to create depth.
Outline the Features
- Using a black marker or fine-tipped paintbrush, outline the skeleton or skull features. For a skeleton mask, focus on detailing the bones, such as the ribs, spine, or jaw.
- For a skull mask Halloween, you’ll want to accentuate the teeth, eye sockets, and cheekbones. Adding shading around the edges of the teeth can give your skull mask a more three-dimensional effect.
Add Texture
- To make the mask look more realistic, try adding texture using different materials. For example, you can glue small bits of foam or fabric to create a weathered, cracked look. Adding some fabric or paper mache to the mask’s edges will give it a more authentic, worn appearance, perfect for a spooky Halloween vibe.
- If you’re aiming for a more dramatic effect, try mixing a little bit of glue with sand or dirt to create a rough texture.
Decorate and Embellish
- Once you’ve completed the main painting, it’s time to get extra creative. You can add some eerie details like glitter for a shimmering effect or use beads and rhinestones for a more glamorous look (perfect for a more ethereal skull mask). For skeleton masks, consider adding silver or gold accents to make certain features pop.
- You can also decorate the mask with small feathers or even fabric flowers for a unique touch that matches your Halloween theme.
4. Finish the Mask
Once the paint and decorations are complete, it’s time to finish the mask so it can be comfortably worn.
- Attach Elastic or Ribbon: To make sure your mask stays in place, use a hot glue gun to attach elastic or ribbon to the sides of the mask. Ensure that it’s long enough to go around your head, but not too tight that it causes discomfort.
- Optional: If you want to add extra security, attach small loops of elastic or string to the top corners of the mask for additional support.
5. Test and Adjust
Try on your mask to make sure it fits well. Adjust the elastic if needed or trim any areas that may be uncomfortable. If you’re working with skeleton masks or skull masks Halloween, make sure the eye holes are large enough for visibility and comfort.
6. Customize for Your Costume
Your DIY skeleton mask or skull mask Halloween should now be the perfect addition to your Halloween costume. If you’re pairing the mask with a full costume, you can use the mask to accentuate your outfit. A simple skeleton mask can be paired with a black suit or tattered clothing for a spooky vibe, while a skull mask Halloween can go great with dark, dramatic makeup and a matching cloak or dress.
7. Final Touches
- Glow-in-the-Dark Elements: For an extra creepy touch, you can use glow-in-the-dark paint or stickers to add details that will glow under blacklight.
- Fog Machine: If you want to really impress your guests, wear your mask while using a fog machine to create a misty, mysterious atmosphere at your Halloween party.
Conclusion: The Perfect DIY Halloween Mask
Making your own Halloween mask is a fun, creative, and budget-friendly way to enhance your Halloween experience. Whether you’re crafting skeleton masks or a more elaborate skull mask Halloween, these DIY creations allow you to express your unique style and spooky flair. By following these simple steps, you can create a mask that’s perfect for your Halloween costume—whether you’re looking for something creepy, funny, or fantastical. So, gather your materials, get your creativity flowing, and enjoy crafting your very own custom mask this Halloween!