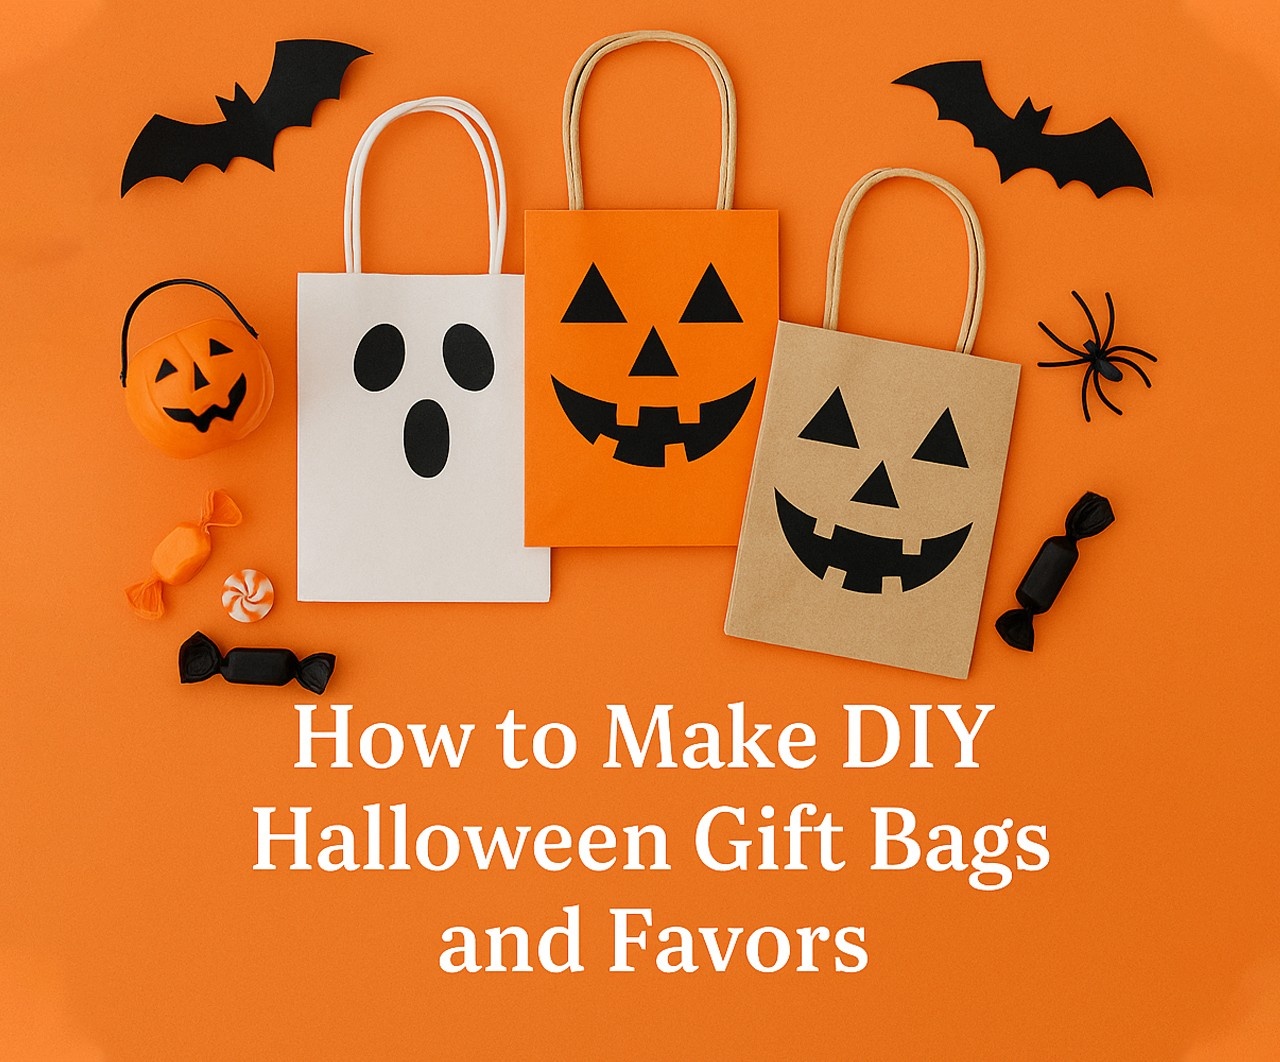
How to Make DIY Halloween Gift Bags and Favors
Halloween is a time for spooky fun, and what better way to add a personal touch to your Halloween celebrations than with custom Halloween treat bags, Halloween bags for treats, and unique trick or treat bags? Whether you’re hosting a Halloween party, organizing a trick-or-treat event, or simply looking to surprise loved ones with festive gifts, DIY Halloween gift bags and favors can be both fun and budget-friendly. In this article, we’ll explore creative ideas, tips, and step-by-step guides to help you create these festive bags from scratch. Know more..
1. Why Make Your Own Halloween Gift Bags?
DIY Halloween treat bags offer a level of personalization that store-bought bags simply can’t match. They give you complete control over the design, size, and materials, allowing you to create bags that perfectly match your Halloween theme. Plus, making your own Halloween bags for treats is an eco-friendly alternative to disposable, mass-produced options. Not only do you get to showcase your creativity, but you can also add unique touches to every bag, ensuring that each treat is presented in the most fun and spooky way possible.
2. Supplies You’ll Need for DIY Halloween Gift Bags
Before you begin, gather the following supplies to make your trick or treat bags:
Materials:
- Plain fabric bags or paper bags (available at craft stores)
- Paints (acrylic or fabric paint)
- Markers or permanent pens
- Stickers (Halloween-themed like pumpkins, ghosts, and bats)
- Glue gun and glue sticks
- Ribbons and twine (in Halloween colors)
- Stamps and ink pads (for patterns and textures)
- Scissors
- Halloween-themed embellishments (like googly eyes, fake spiders, or felt appliqués)
Having these materials on hand will allow you to get creative and design unique Halloween gift bags for every occasion!
3. Creative Ideas for DIY Halloween Gift Bags
Let’s take a look at some fun and spooky ideas for crafting Halloween treat bags, Halloween bags for treats, and trick or treat bags.
1. Spooky Painted Ghost Bags
Materials:
- White fabric or paper bags
- Black fabric or acrylic paint
- Paintbrushes
- Ribbons (optional)
Instructions:
- Start with a plain white bag. If you’re using fabric, pre-wash it to ensure the paint adheres well.
- Use black paint to create spooky ghost faces, like eyes and a mouth, on the bag.
- For an extra spooky touch, you can even paint a spooky outline of a ghost.
- Tie a ribbon around the bag handle for a cute finishing touch.
These Halloween treat bags are simple yet effective for both kids and adults. They also pair perfectly with a bag of “ghostly” candy!
2. Pumpkin Patch Goodie Bags
Nothing says Halloween like a pumpkin! Make your own Halloween bags for treats by painting or drawing cute pumpkin faces.
Materials:
- Orange paper or fabric bags
- Green ribbons or twine (for pumpkin vines)
- Black markers or fabric paint
- Scissors
Instructions:
- Start by using an orange bag as your base.
- Draw or paint pumpkin faces on the bag using black markers or fabric paint. You can opt for a cute jack-o’-lantern design or something more sinister.
- Attach green ribbons or twine to the top of the bag to create pumpkin vines.
- Use a hole puncher to create two small holes at the top of the bag, then thread the ribbon through to make it look like a pumpkin’s vine.
This DIY trick or treat bag is the perfect way to capture the spirit of the season while making something festive to hand out to guests or trick-or-treaters!
3. Creepy Spider Web Bags
Materials:
- Black or gray fabric or paper bags
- White yarn or string (to make webs)
- Scissors
- Plastic spiders (optional)
Instructions:
- Start with a black or gray bag as your base.
- Cut yarn into long pieces and glue it onto the bag in a web-like pattern.
- Optionally, you can add small plastic spiders to the bag to make the design even more frightening.
- Tie a purple or green ribbon around the top of the bag for a splash of color.
This design will give your Halloween treat bags a creepy vibe, perfect for anyone who loves spiders and spooky details!
4. Mummy-Themed Trick or Treat Bags
Wrap your trick or treat bags in bandages to create a fun, mummy-themed design!
Materials:
- White or beige paper or fabric bags
- Gauze or bandages (from a craft store or pharmacy)
- Glue gun and glue sticks
- Googly eyes
Instructions:
- Start with a white or beige bag as your base.
- Using a glue gun, glue pieces of gauze or bandages around the bag to create a “mummy” look.
- Leave a small space for the “eyes” and glue googly eyes in the center of the bag.
- Optionally, you can tie a piece of black or orange ribbon around the top of the bag to add some color.
This mummy design is perfect for Halloween lovers and adds a playful touch to your Halloween bags for treats.
5. Monster Madness Gift Bags
Everyone loves a good monster! Create trick or treat bags that are full of fun with these quirky monster designs.
Materials:
- Brightly colored fabric or paper bags (like green, purple, or blue)
- Craft foam (in various colors)
- Googly eyes
- Fabric glue or hot glue gun
Instructions:
- Choose a colorful bag as your base.
- Cut out ears, mouths, and arms from the craft foam, and glue them onto the bag to create a monster face.
- Attach googly eyes to make your monster’s face come to life.
- Add other fun details, like a wiggly tongue or sharp teeth, to make your monster even more monstrous!
These fun bags are a creative twist on traditional Halloween treat bags, and the kids will love receiving them.
4. Additional Tips for DIY Halloween Gift Bags and Favors
While the ideas above will give you a fantastic start, here are a few extra tips to help elevate your Halloween bags for treats:
1. Use Recycled Materials
Creating Halloween treat bags from recycled materials, such as old t-shirts, newspapers, or cardboard, is a great way to be eco-friendly. You can repurpose materials you already have around the house and turn them into something spooky and fun.
2. Personalize with Names
If you’re giving trick or treat bags to friends or guests, consider adding their names to each one. This makes the gift bags feel more personal and special. Use fabric markers or stickers to easily add names.
3. Add Treats That Match the Theme
When filling your Halloween treat bags, ensure the contents match the spooky theme of the bag. For example, you could add gummy worms for the mummy bag, chocolate pumpkins for the pumpkin bag, or candy eyeballs for the monster bags.
4. Go for a Spooky Color Scheme
Stick to a Halloween color scheme of orange, black, purple, and green to keep your bags feeling festive and cohesive. These colors will tie your entire Halloween event together, creating a unified and visually striking display.
5. Conclusion
Making your own Halloween treat bags, Halloween bags for treats, and trick or treat bags is a fun and cost-effective way to add a personal touch to your Halloween celebrations. With just a few basic supplies and a little creativity, you can craft spooky, cute, and unique gift bags that everyone will love. Whether you’re handing them out to trick-or-treaters, giving them as party favors, or using them to present thoughtful gifts, your DIY Halloween bags are sure to impress. Get crafting, and make this Halloween the spookiest one yet!