Creating DIY Halloween Banners and Wall Art
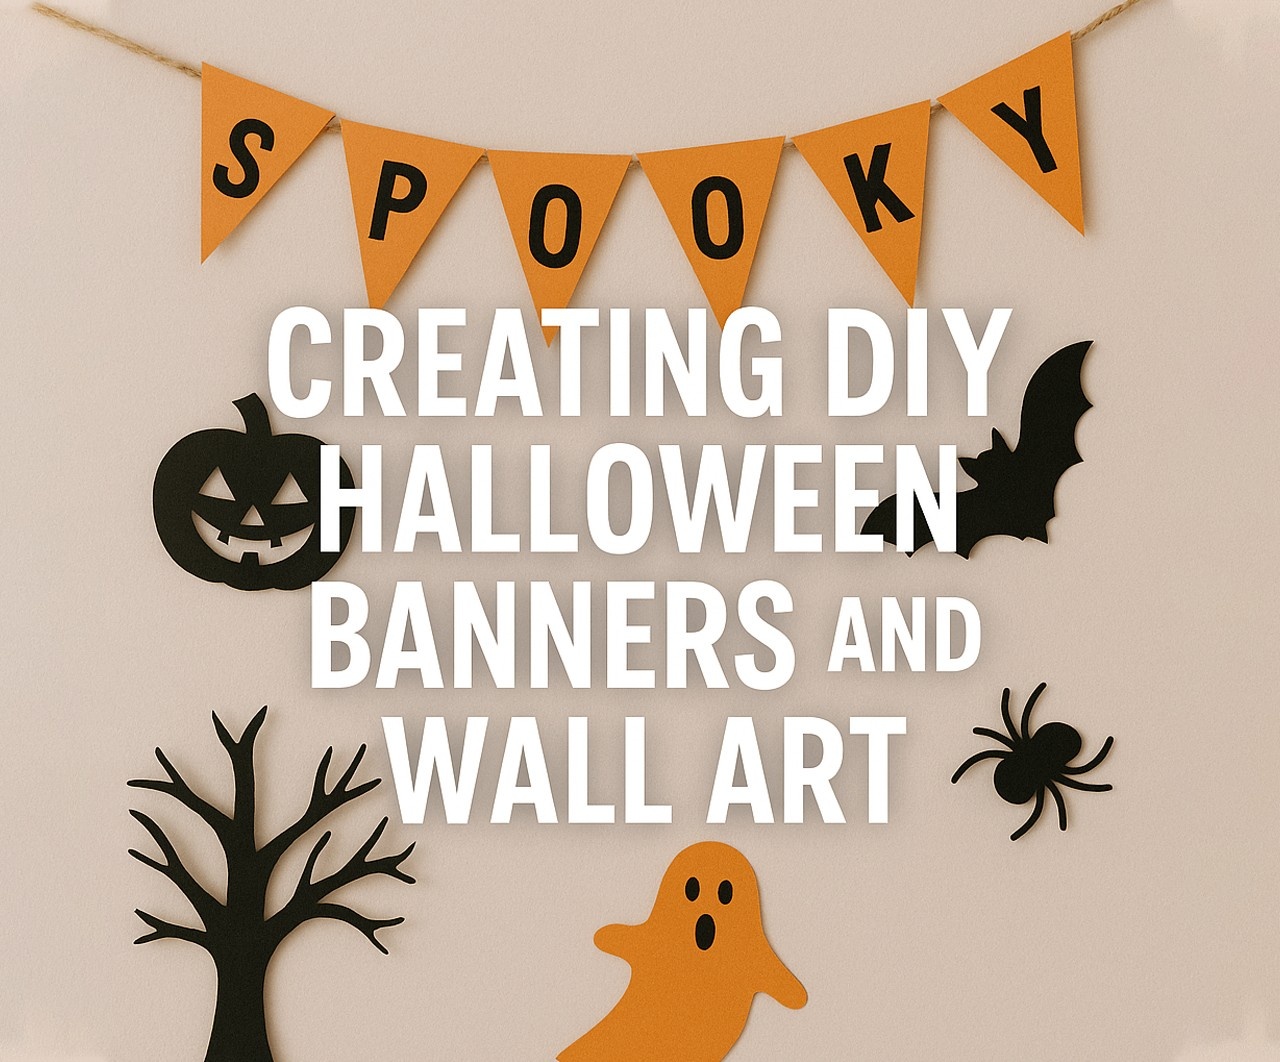
Halloween is the perfect time to transform your home into a spooky and festive space with creative decorations. One of the easiest and most affordable ways to add a Halloween touch to your space is by making your own Halloween banners and DIY wall art. Whether you want a creepy haunted house vibe or a playful, kid-friendly look, crafting your own Halloween wall decorations allows you to customize your home décor while saving money. In this guide, we’ll explore fun and easy ways to create eye-catching Halloween banners, DIY wall art, and Halloween wall decorations that will impress your guests and trick-or-treaters. Know more..
Why Make DIY Halloween Banners and Wall Art?
1. Budget-Friendly Decorations
Store-bought Halloween decorations can be expensive, and many are made from flimsy materials that won’t last beyond one season. Creating your own Halloween banners and Halloween wall decorations allows you to make high-quality décor at a fraction of the cost.
2. Fully Customizable Designs
When making DIY wall art, you can choose the colors, materials, and styles that match your Halloween theme. Whether you prefer a gothic, eerie aesthetic or a fun, kid-friendly design, DIY projects give you full creative control.
3. Fun for All Ages
Making Halloween banners and wall decorations is a great activity for families, friends, and even solo crafters. Kids can help with painting, cutting, and gluing, while adults can take on more detailed designs.
Essential Materials for DIY Halloween Banners and Wall Art
Before you start crafting, gather the following materials:
- Colored cardstock or construction paper (black, orange, purple, white, green)
- Felt or fabric scraps for textured effects
- String, twine, or ribbon for hanging banners
- Markers, paint, or chalk for artistic details
- Glue, tape, or a hot glue gun
- Scissors or craft knives
- Printable Halloween stencils (bats, ghosts, pumpkins, skulls)
- Glitter, stickers, or LED string lights for added effect
How to Make DIY Halloween Banners
1. Classic “Happy Halloween” Banner
A Halloween banner with a simple “Happy Halloween” message is a must-have for any party or festive space.
Instructions:
- Cut Triangle or Rectangle Banner Pieces: Use cardstock or felt in traditional Halloween colors.
- Add Letters: Use stencils or cut out letters from a contrasting color.
- Decorate with Halloween Shapes: Glue on cut-out bats, pumpkins, or spiders for extra flair.
- Attach to a String or Ribbon: Use a hole punch or clothespins to attach the pieces to a long piece of twine.
- Hang on Walls, Fireplaces, or Entryways: Position your Halloween banner in a prominent place to enhance the festive feel.
2. Spooky Silhouette Banner
For a darker, spookier vibe, create a silhouette-style Halloween banner featuring haunted houses, witches, and graveyards.
Instructions:
- Cut out black cardstock into spooky shapes (haunted houses, bats, witches).
- Attach the shapes to a string using mini clothespins or glue.
- Hang in front of a bright wall or window to create eerie shadows at night.
3. Ghost Garland Banner
A ghost-themed Halloween banner is fun and easy to make, perfect for decorating kids’ rooms or party spaces.
Instructions:
- Cut white fabric or paper into ghost shapes.
- Draw eyes and mouths using black markers.
- Thread a string through the tops of the ghosts to create a hanging effect.
- Hang the ghost garland along walls, doorways, or staircases.
How to Make DIY Halloween Wall Art
1. Creepy Canvas Paintings
Transform blank canvases into spooky Halloween wall decorations using simple painting techniques.
Instructions:
- Use black or orange acrylic paint as a base.
- Paint spooky silhouettes, such as haunted trees, full moons, or black cats.
- Add glow-in-the-dark paint for an eerie nighttime effect.
- Let dry and hang your artwork in a prominent spot.
2. DIY Paper Cutout Wall Art
Paper cutouts are an easy and affordable way to create dramatic DIY wall art.
Instructions:
- Print or draw Halloween-themed stencils (bats, witches, spiders).
- Cut them out from black cardstock or construction paper.
- Arrange them on your wall using removable tape or adhesive putty.
- Create a flying bat effect by spacing bat cutouts along a hallway or staircase.
3. 3D Pumpkin Wall Art
Add depth to your Halloween wall decorations by making 3D pumpkins from paper or fabric.
Instructions:
- Cut out multiple pumpkin shapes from orange cardstock or felt.
- Layer and glue them together to create a raised effect.
- Add a green felt stem and black cutout facial features.
- Mount them on the wall for a pop-out Halloween look.
4. Haunted Mirror Illusions
Create a haunted house effect by transforming regular mirrors into eerie Halloween wall decorations.
Instructions:
- Print or draw ghostly figures on transparent plastic sheets.
- Tape them to the back of a mirror for a faint, ghostly reflection.
- Use red lipstick or fake blood to write spooky messages like “HELP ME” on the mirror.
- Position flickering LED candles nearby to enhance the eerie effect.
Lighting Tricks for Halloween Banners and Wall Art
Adding lighting to your decorations enhances their impact, especially at night.
1. String Lights
- Drape orange or purple LED lights along your Halloween banners for a glowing effect.
- Wrap fairy lights around DIY wall art to make them stand out.
2. Glow-in-the-Dark Paint
- Use glow-in-the-dark paint on banners and Halloween wall decorations to make them pop in dim lighting.
3. Projection Lights
- Set up a projection light to display moving shadows on walls for a haunted house effect.
Final Tips for Stunning DIY Halloween Banners and Wall Art
- Mix Textures: Use felt, paper, fabric, and even wood to add dimension to your decorations.
- Layer Designs: Overlapping different shapes and sizes creates a fuller, more professional look.
- Keep It Weatherproof: If using banners outdoors, laminate paper decorations or use waterproof materials.
- Get Creative with Fonts: Use spooky-themed fonts for any text-based Halloween banners.
Final Thoughts
Creating DIY Halloween banners and Halloween wall decorations is a fun, budget-friendly way to bring the spooky spirit into your home. Whether crafting a ghostly garland, eerie silhouettes, or haunting wall art, these projects allow you to personalize your space while saving money.
This Halloween, let your creativity shine and transform your walls with custom DIY wall art and banners that will impress guests and create the ultimate spooky atmosphere. Get crafting and make your Halloween décor unforgettable!

